

Lightroom Preset for Wedding Photography
New and exclusive to the Institute of wedding photographers (IOWP).
IOWP Lightroom presets are highly sought after by wedding photographers and users looking to enhance their photos with warm tones and subtle matte effects. This provides six premium IOWP Wedding Photography presets that can transform your images into captivating works of art.
These tools are compatible with Lightroom Mobile, Lightroom CC, and versions Lr 4, 5, and 6. They work seamlessly with both RAW and JPEG images on Windows and Mac platforms. The entire bundle is priced at £95.
Preset designed by Michael Lundbeck One Vision Photography
IOWP - 1 Wedding Photography Preset
It creates delicate greens and soft tones, offering a beautiful colour palette perfect for capturing a romantic atmosphere in photography. Images taken at sunrise or sunset gain subtle pink hues, adding a touch of charm and nostalgia.


IOWP - 2 Wedding Photography Preset
Opt for this preset if you need a quick solution for correcting white balance issues. It enhances greens by making them more vibrant and adds a stunning matte finish. This IOWP preset precisely defines shadows and highlights the brightest areas of an image. If you primarily shoot outdoors, this filter can revolutionise your photo editing process.
IOWP - 3 Wedding Photography Preset
This IOWP preset is an excellent choice for addressing problematic skin tones. Whether you’re dealing with greyish undertones, redness, or yellowness, this filter helps achieve a natural and radiant skin tone. It’s an essential tool for photographers specialising in aesthetic portraits, ensuring flawless and professional results every time.


IOWP - 4 Wedding Photography Preset
Unleash your creativity with this preset, which enhances green and orange tones while giving blues a dreamy, tropical feel. It truly shines when used on photos featuring abundant greenery, muting the tones and adding a subtle warmth. The result is often a moody, desaturated aesthetic that exudes charm and sophistication.


IOWP - 5 Wedding Photography Preset
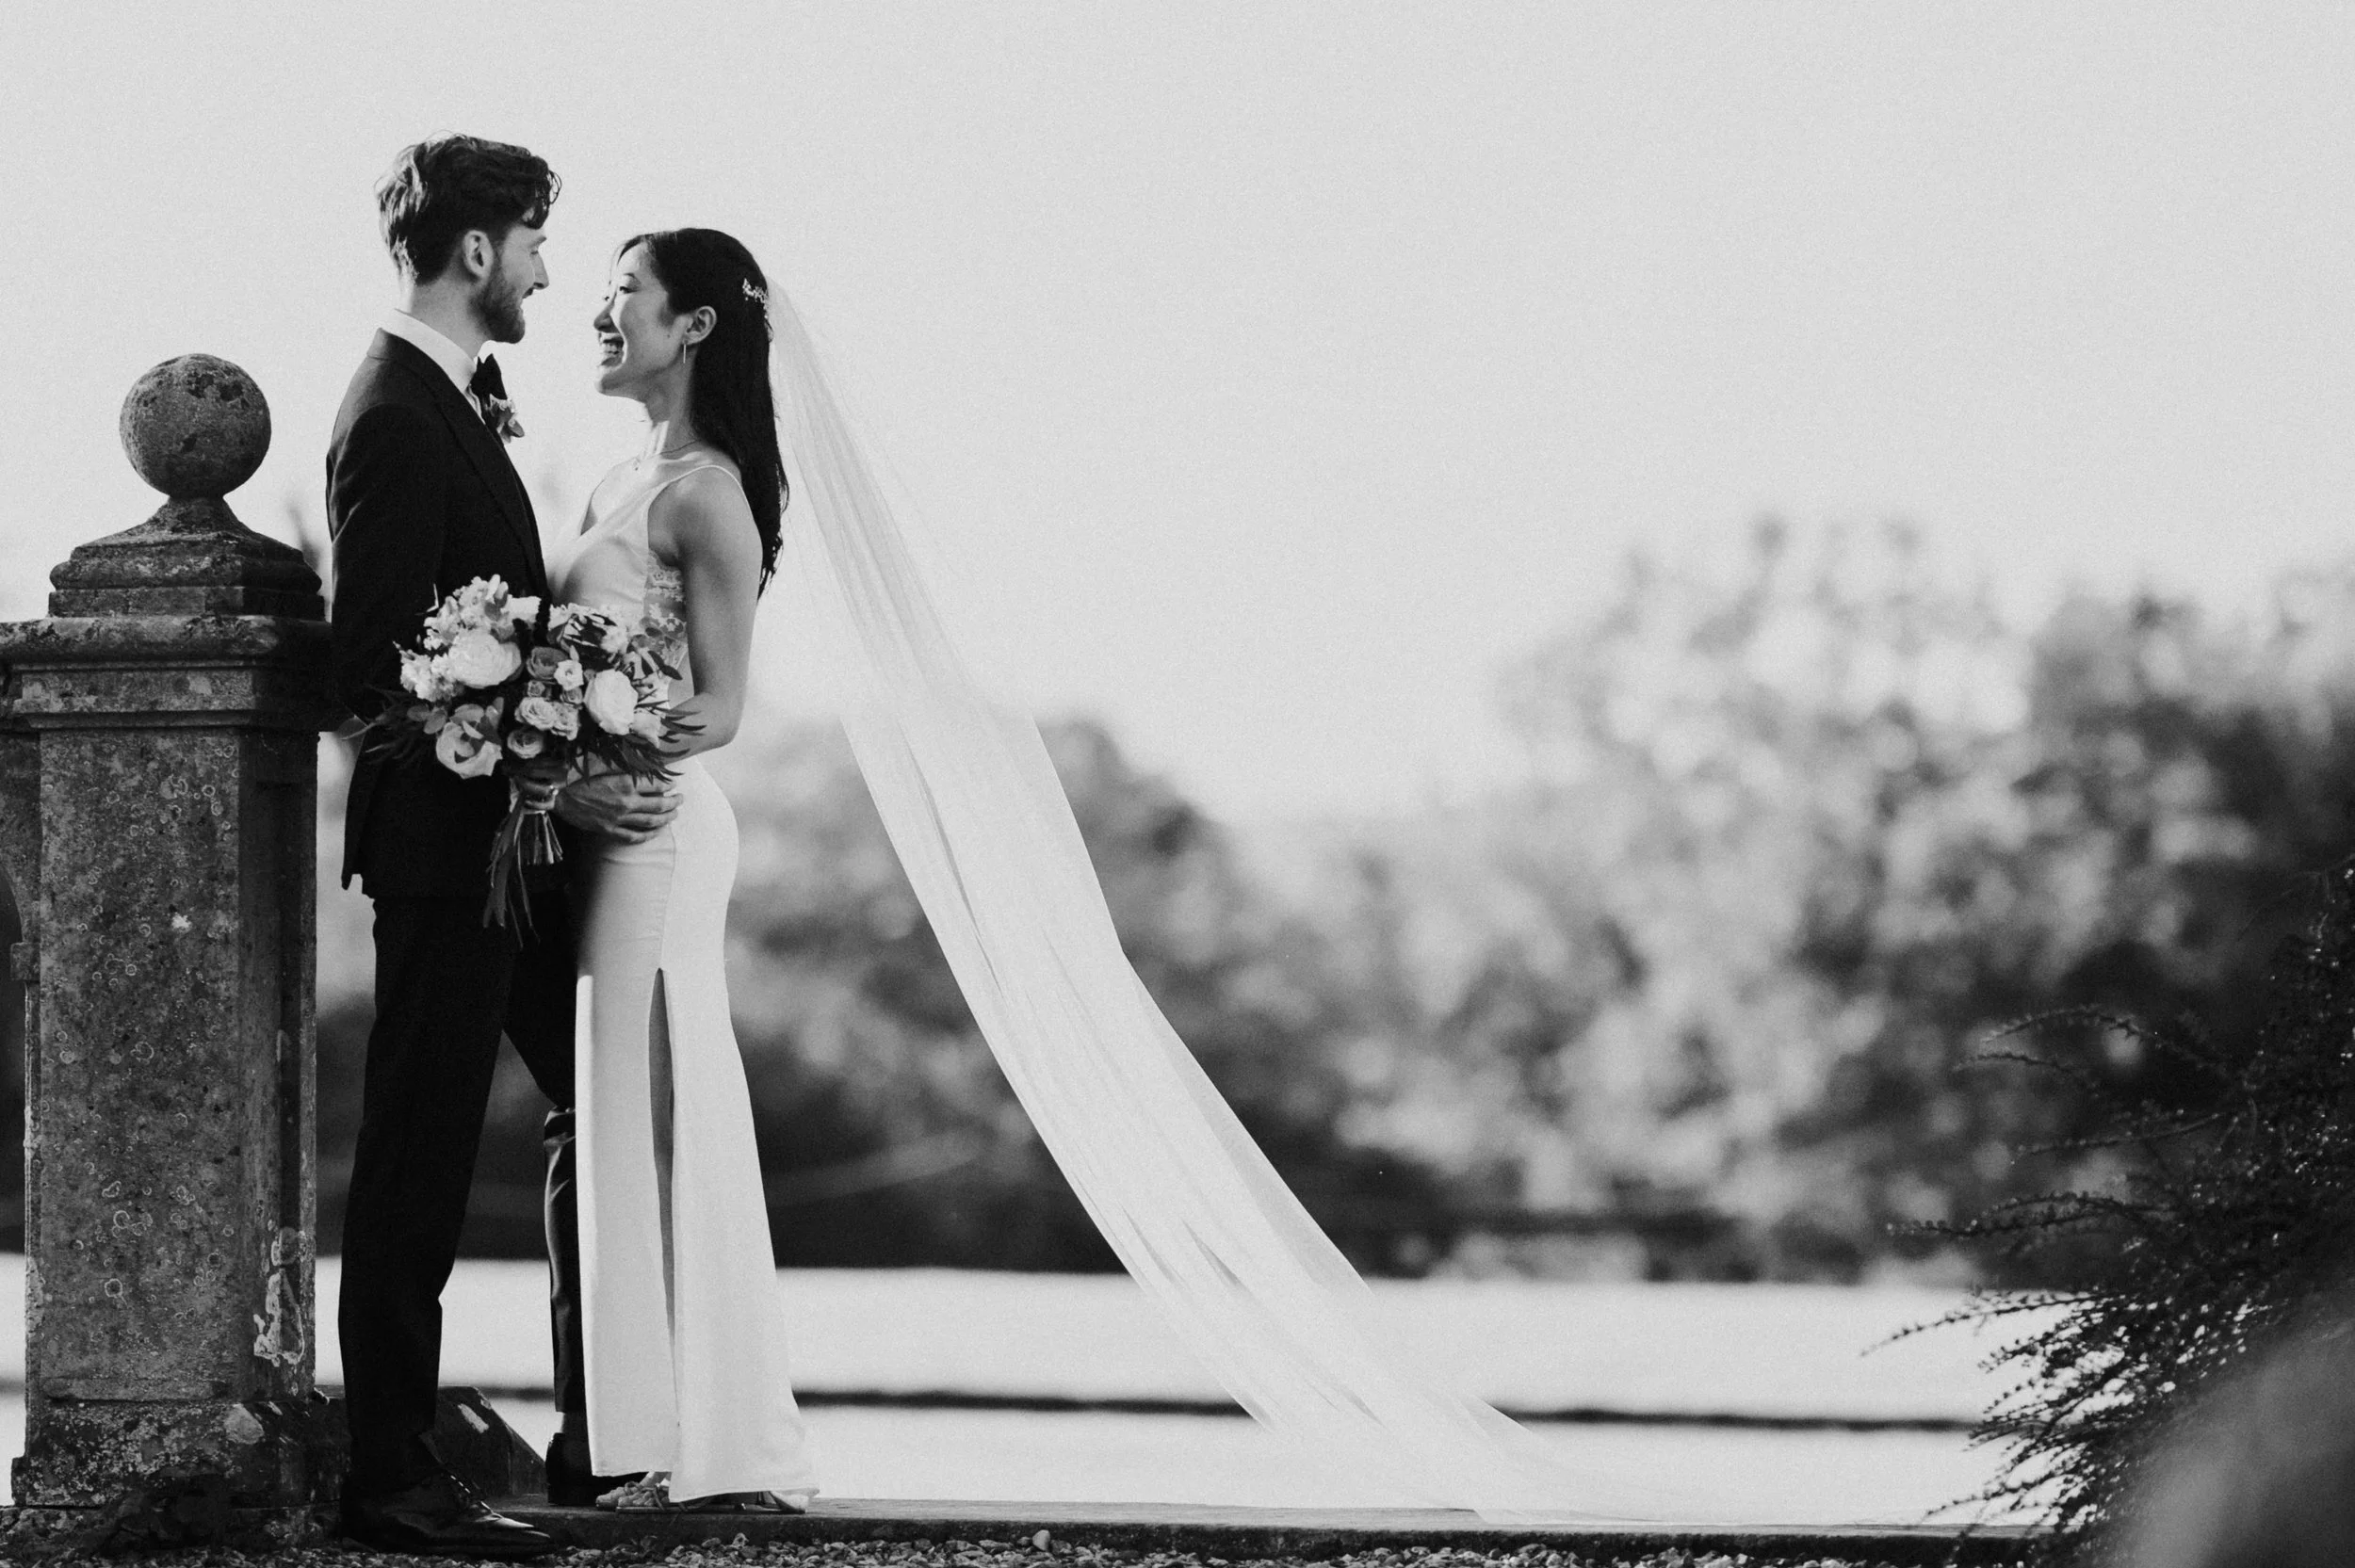
This preset excels at creating captivating black-and-white images, making it particularly effective for portrait photography or shots that emphasise a subject. Additionally, it can enhance photos with challenging lighting conditions, bringing out their full potential.
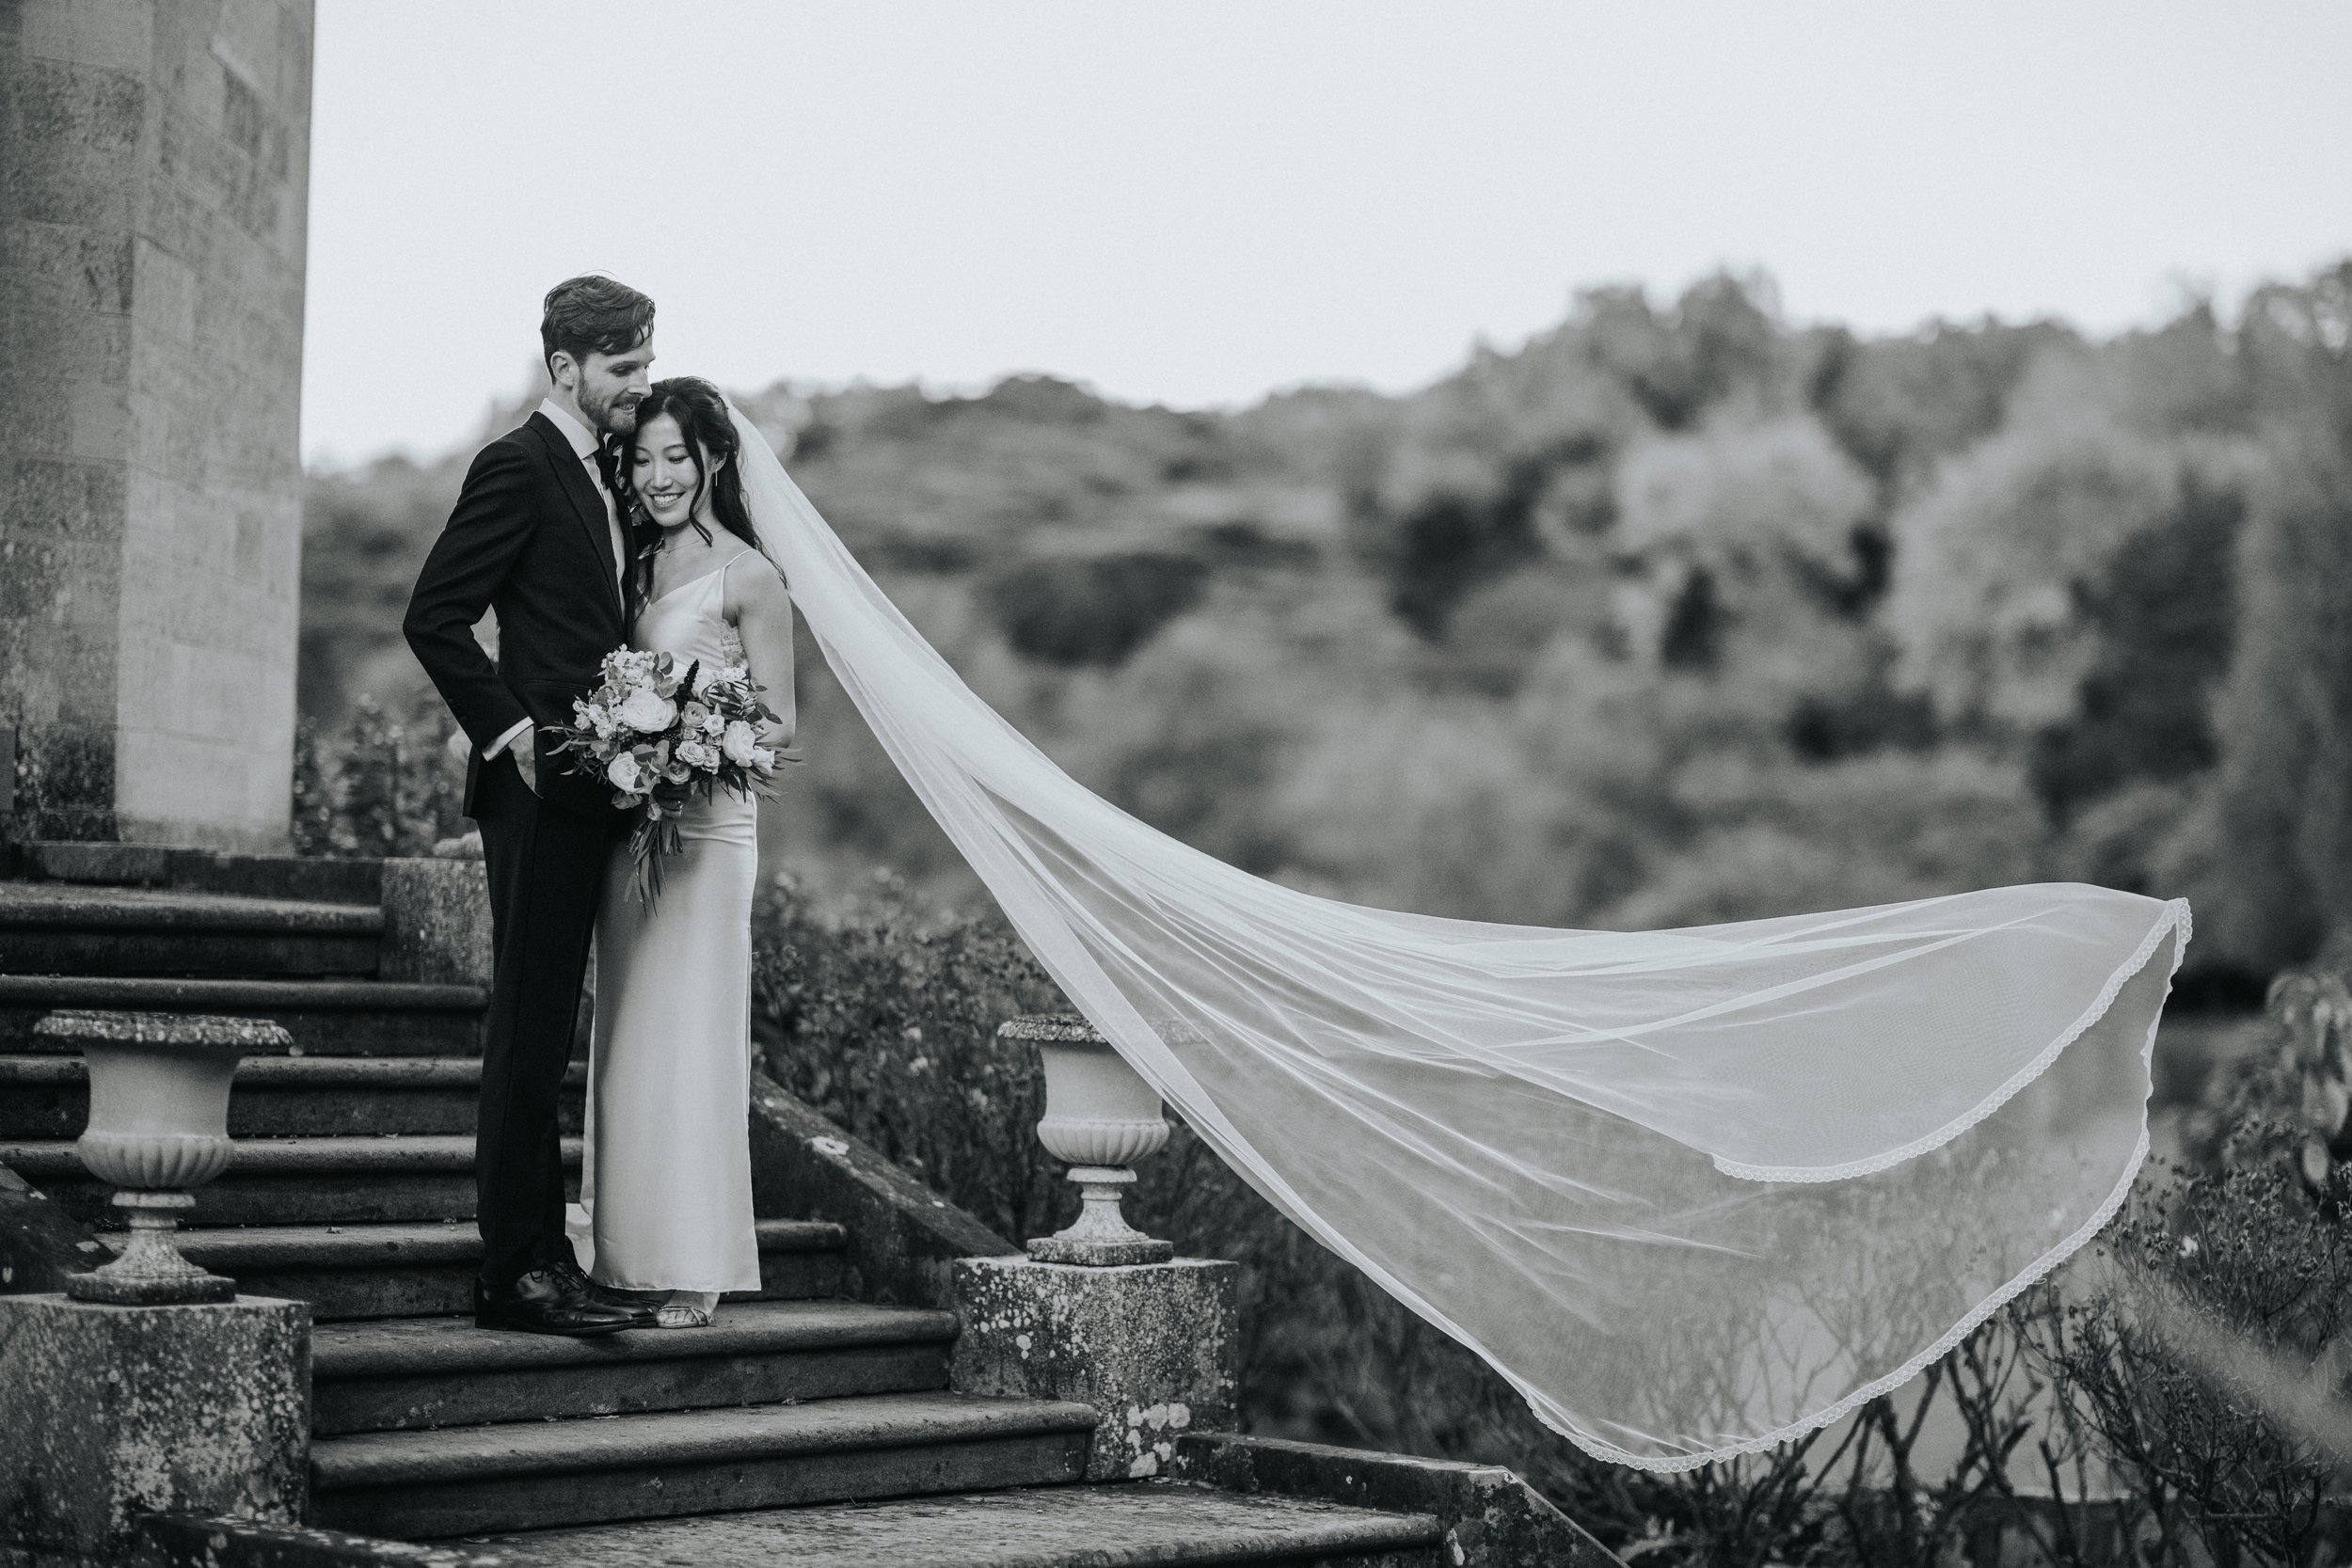

IOWP - 6 Wedding Photography Preset
This is another fantastic IOWP preset for fans of black-and-white photography. It subtly highlights key details while infusing your images with a vintage charm. Compared to the previous option, this preset offers a bolder, more contrasted look.

Transform Your Wedding Photography with Our Must-Have IOWP Preset!
Elevate your wedding photography to new heights with this exclusive IOWP preset, designed specifically for professional wedding photographers. Whether you’re capturing the tender moments of a couple’s first dance or the joyous celebration of their big day, this preset is your ultimate editing companion.
Tailored for wedding imagery, it enhances natural skin tones, adds warmth to outdoor shots, and brings a timeless charm to black-and-white photos. Perfectly balanced to handle everything from soft romantic tones to vibrant reception scenes, it’s ideal for creating a cohesive and stunning wedding album.
This preset will not only save you hours of editing but will also ensure your images leave a lasting impression on your clients. Give your wedding photography that professional, polished finish, and create a gallery that truly stands out.
Download now and make every wedding you capture an unforgettable masterpiece!

wedding photography presets
Wedding Photography Lightroom Presets
How to Install Presets into Adobe Lightroom: A Step-by-Step Guide
-

For Lightroom CC (Desktop Version)
1. Download and Unzip the Preset Files:
• After downloading your LXC presets, locate the zipped file on your computer.
• Right-click and select “Extract All” or use an unzipping tool to extract the files.
2. Open Lightroom CC:
• Launch Adobe Lightroom CC on your desktop.
3. Navigate to the Preset Panel:
• On the left-hand side, open the “Edit” panel (icon with sliders).
• Scroll down to “Presets” and click the ”+” icon at the top of the Presets panel.
4. Import Your Presets:
• Select “Import Presets” from the dropdown menu.
• Locate the unzipped preset files on your computer and select them.
• Click “Import”, and your presets will be added to the list.
5. Apply the Presets:
• Open an image in Lightroom, navigate to the Presets panel, and click on your desired preset to apply it instantly.
-

For Lightroom Classic (Desktop Version)
For Lightroom Classic (Desktop Version):
1. Unzip the Preset Files:
• As above, extract the downloaded zip file containing the presets.
2. Access Lightroom Preferences:
• Open Lightroom Classic and go to Edit > Preferences (Windows) or Lightroom > Preferences (Mac).
3. Locate the Presets Folder:
• In the Preferences window, click on the “Presets” tab and select “Show All Other Lightroom Presets.”
• This will open the folder where Lightroom stores its presets.
4. Add Your Presets:
• Navigate to the “Develop Presets” folder.
• Copy and paste your unzipped preset files into this folder.
5. Restart Lightroom Classic:
• Close and reopen Lightroom Classic.
• Your new presets will appear in the Presets panel under “User Presets” or a custom folder name.
-
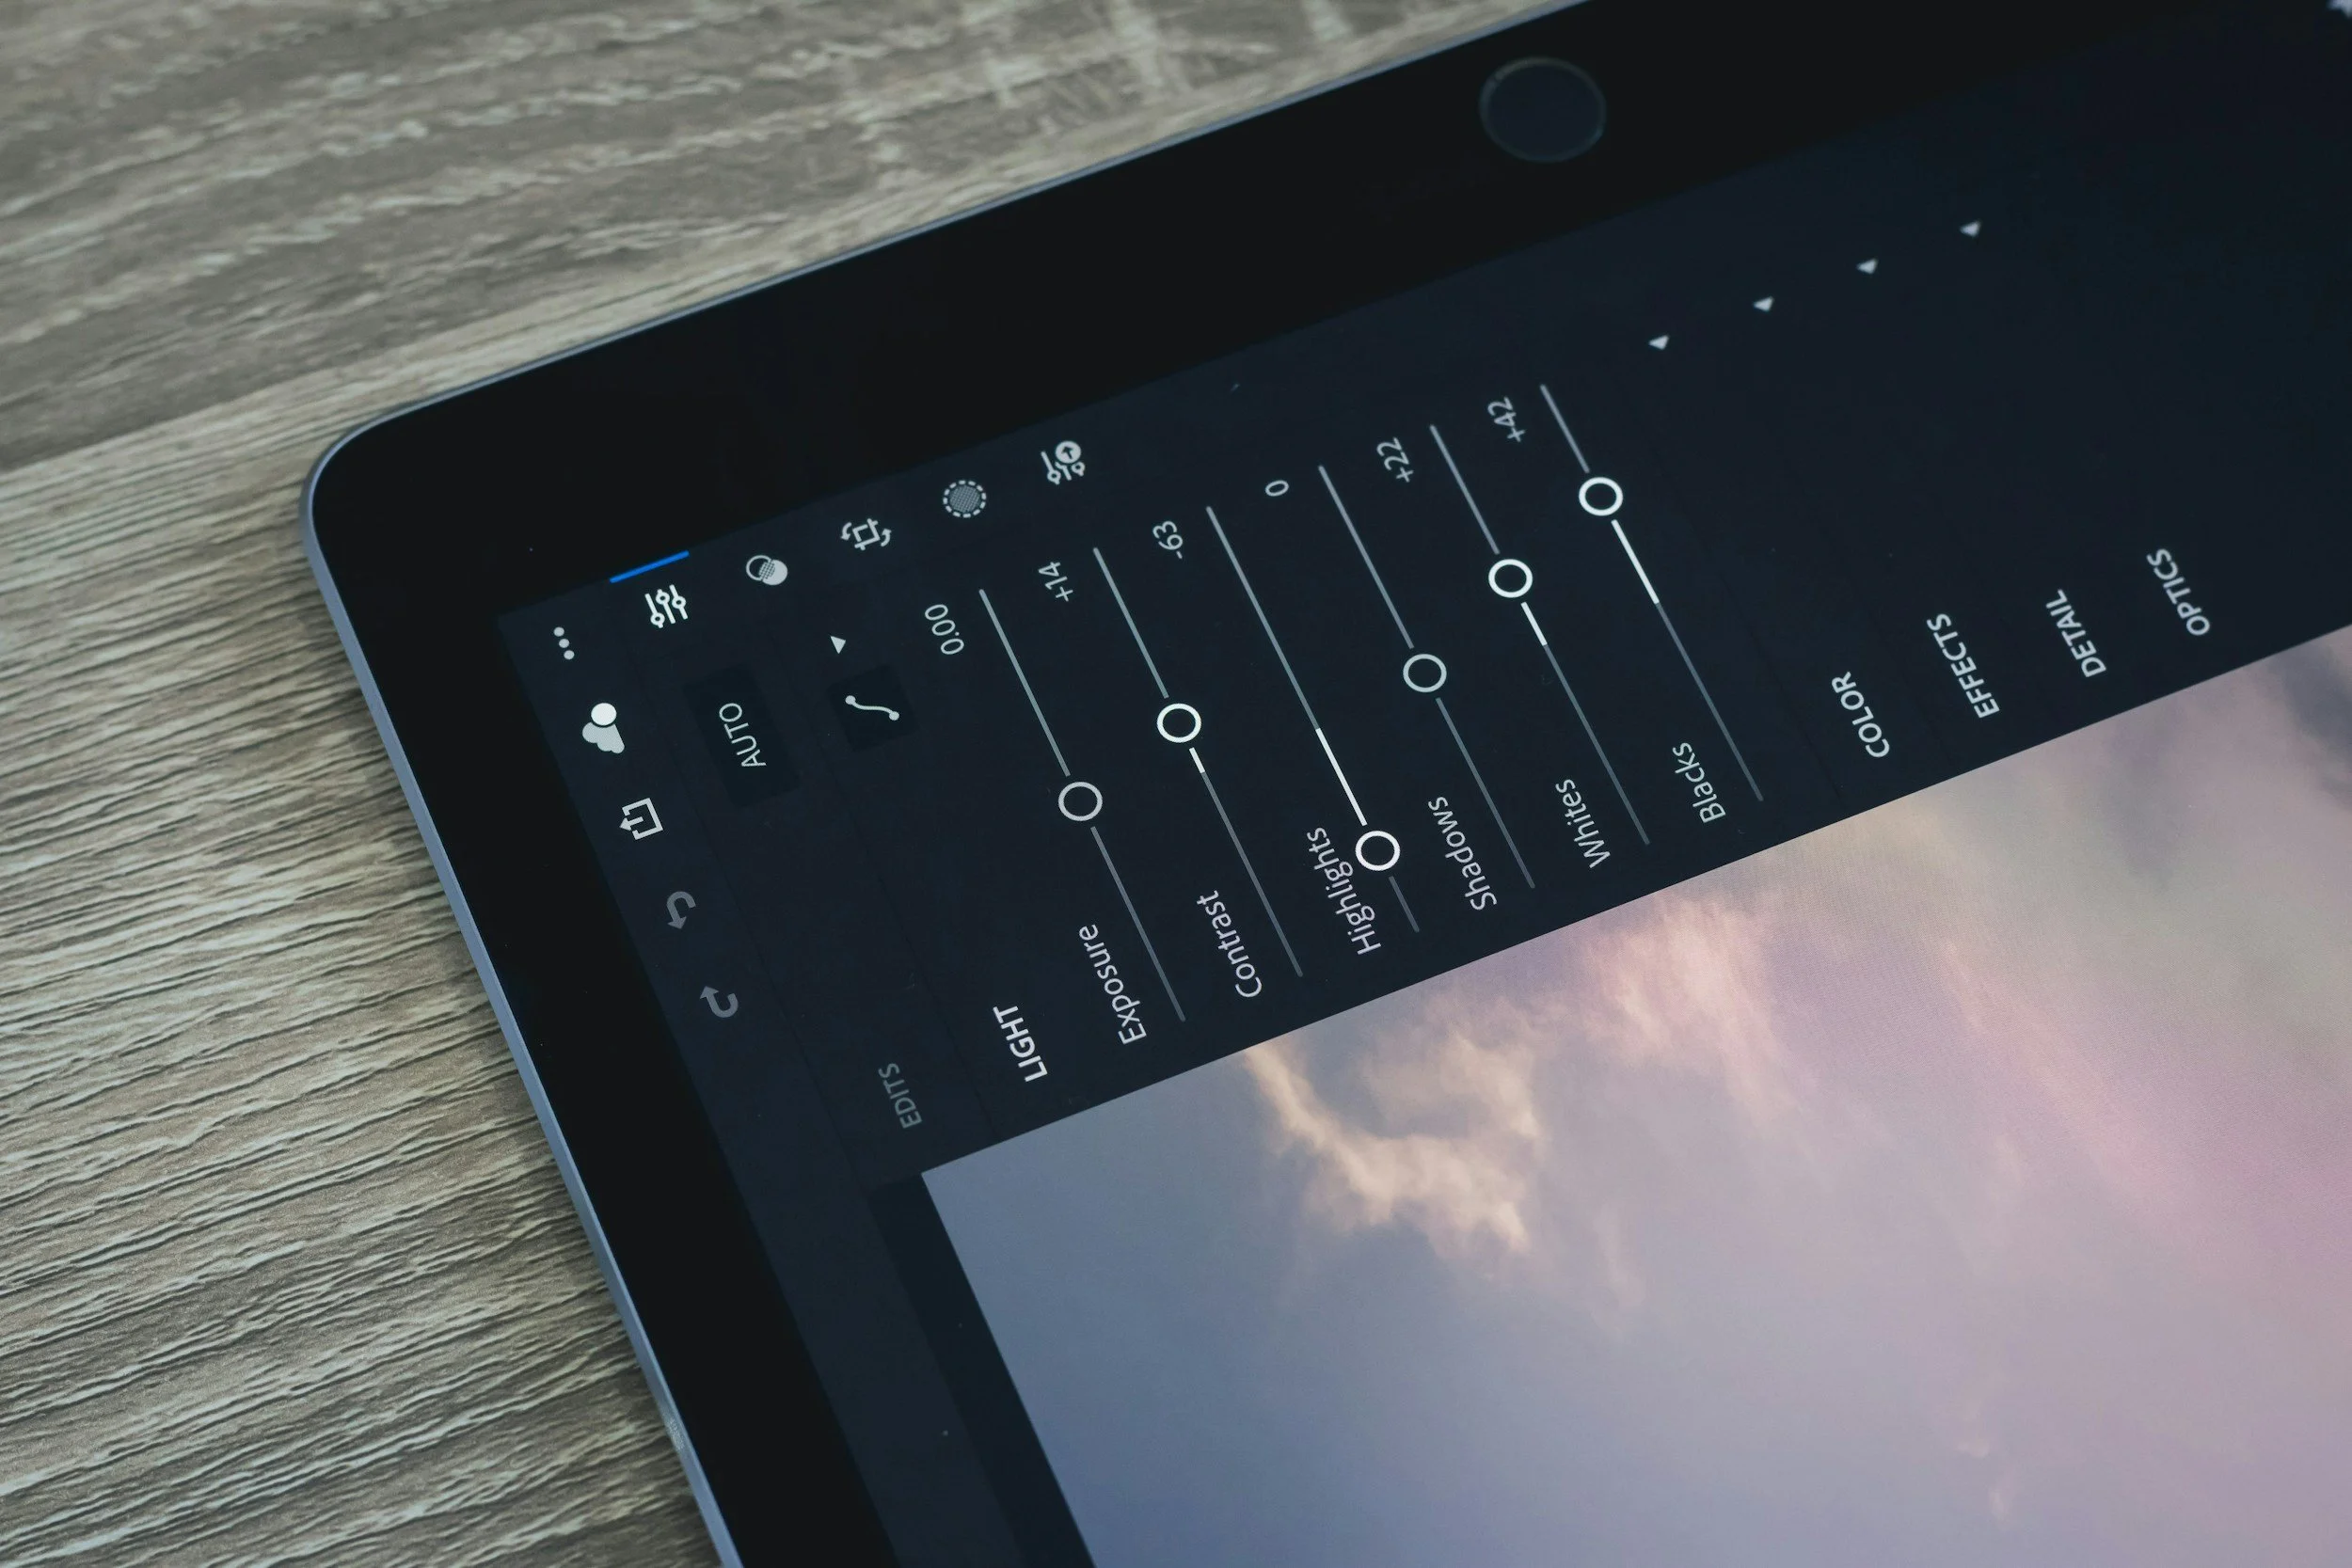
For Lightroom Mobile (iOS/Android)
1. Download and Transfer the Presets:
• Download the preset files to your mobile device or transfer them from your computer using cloud storage like Google Drive or Dropbox.
• Ensure the presets are in DNG format for Lightroom Mobile.
2. Import the DNG Files into Lightroom Mobile:
• Open Lightroom Mobile and create a new album for your presets (optional).
• Tap the ”+” icon to add photos and select the DNG files.
3. Save the Presets:
• Open one of the imported DNG files.
• Tap the three-dot menu in the top-right corner and select “Create Preset.”
• Name the preset and save it to a folder of your choice.
4. Apply the Presets:
• Open any photo in Lightroom Mobile, navigate to the Presets section, and apply your newly saved presets to transform your images.