
How to Shoot Sparkler Exit Photos: A Professional Masterclass for 2026
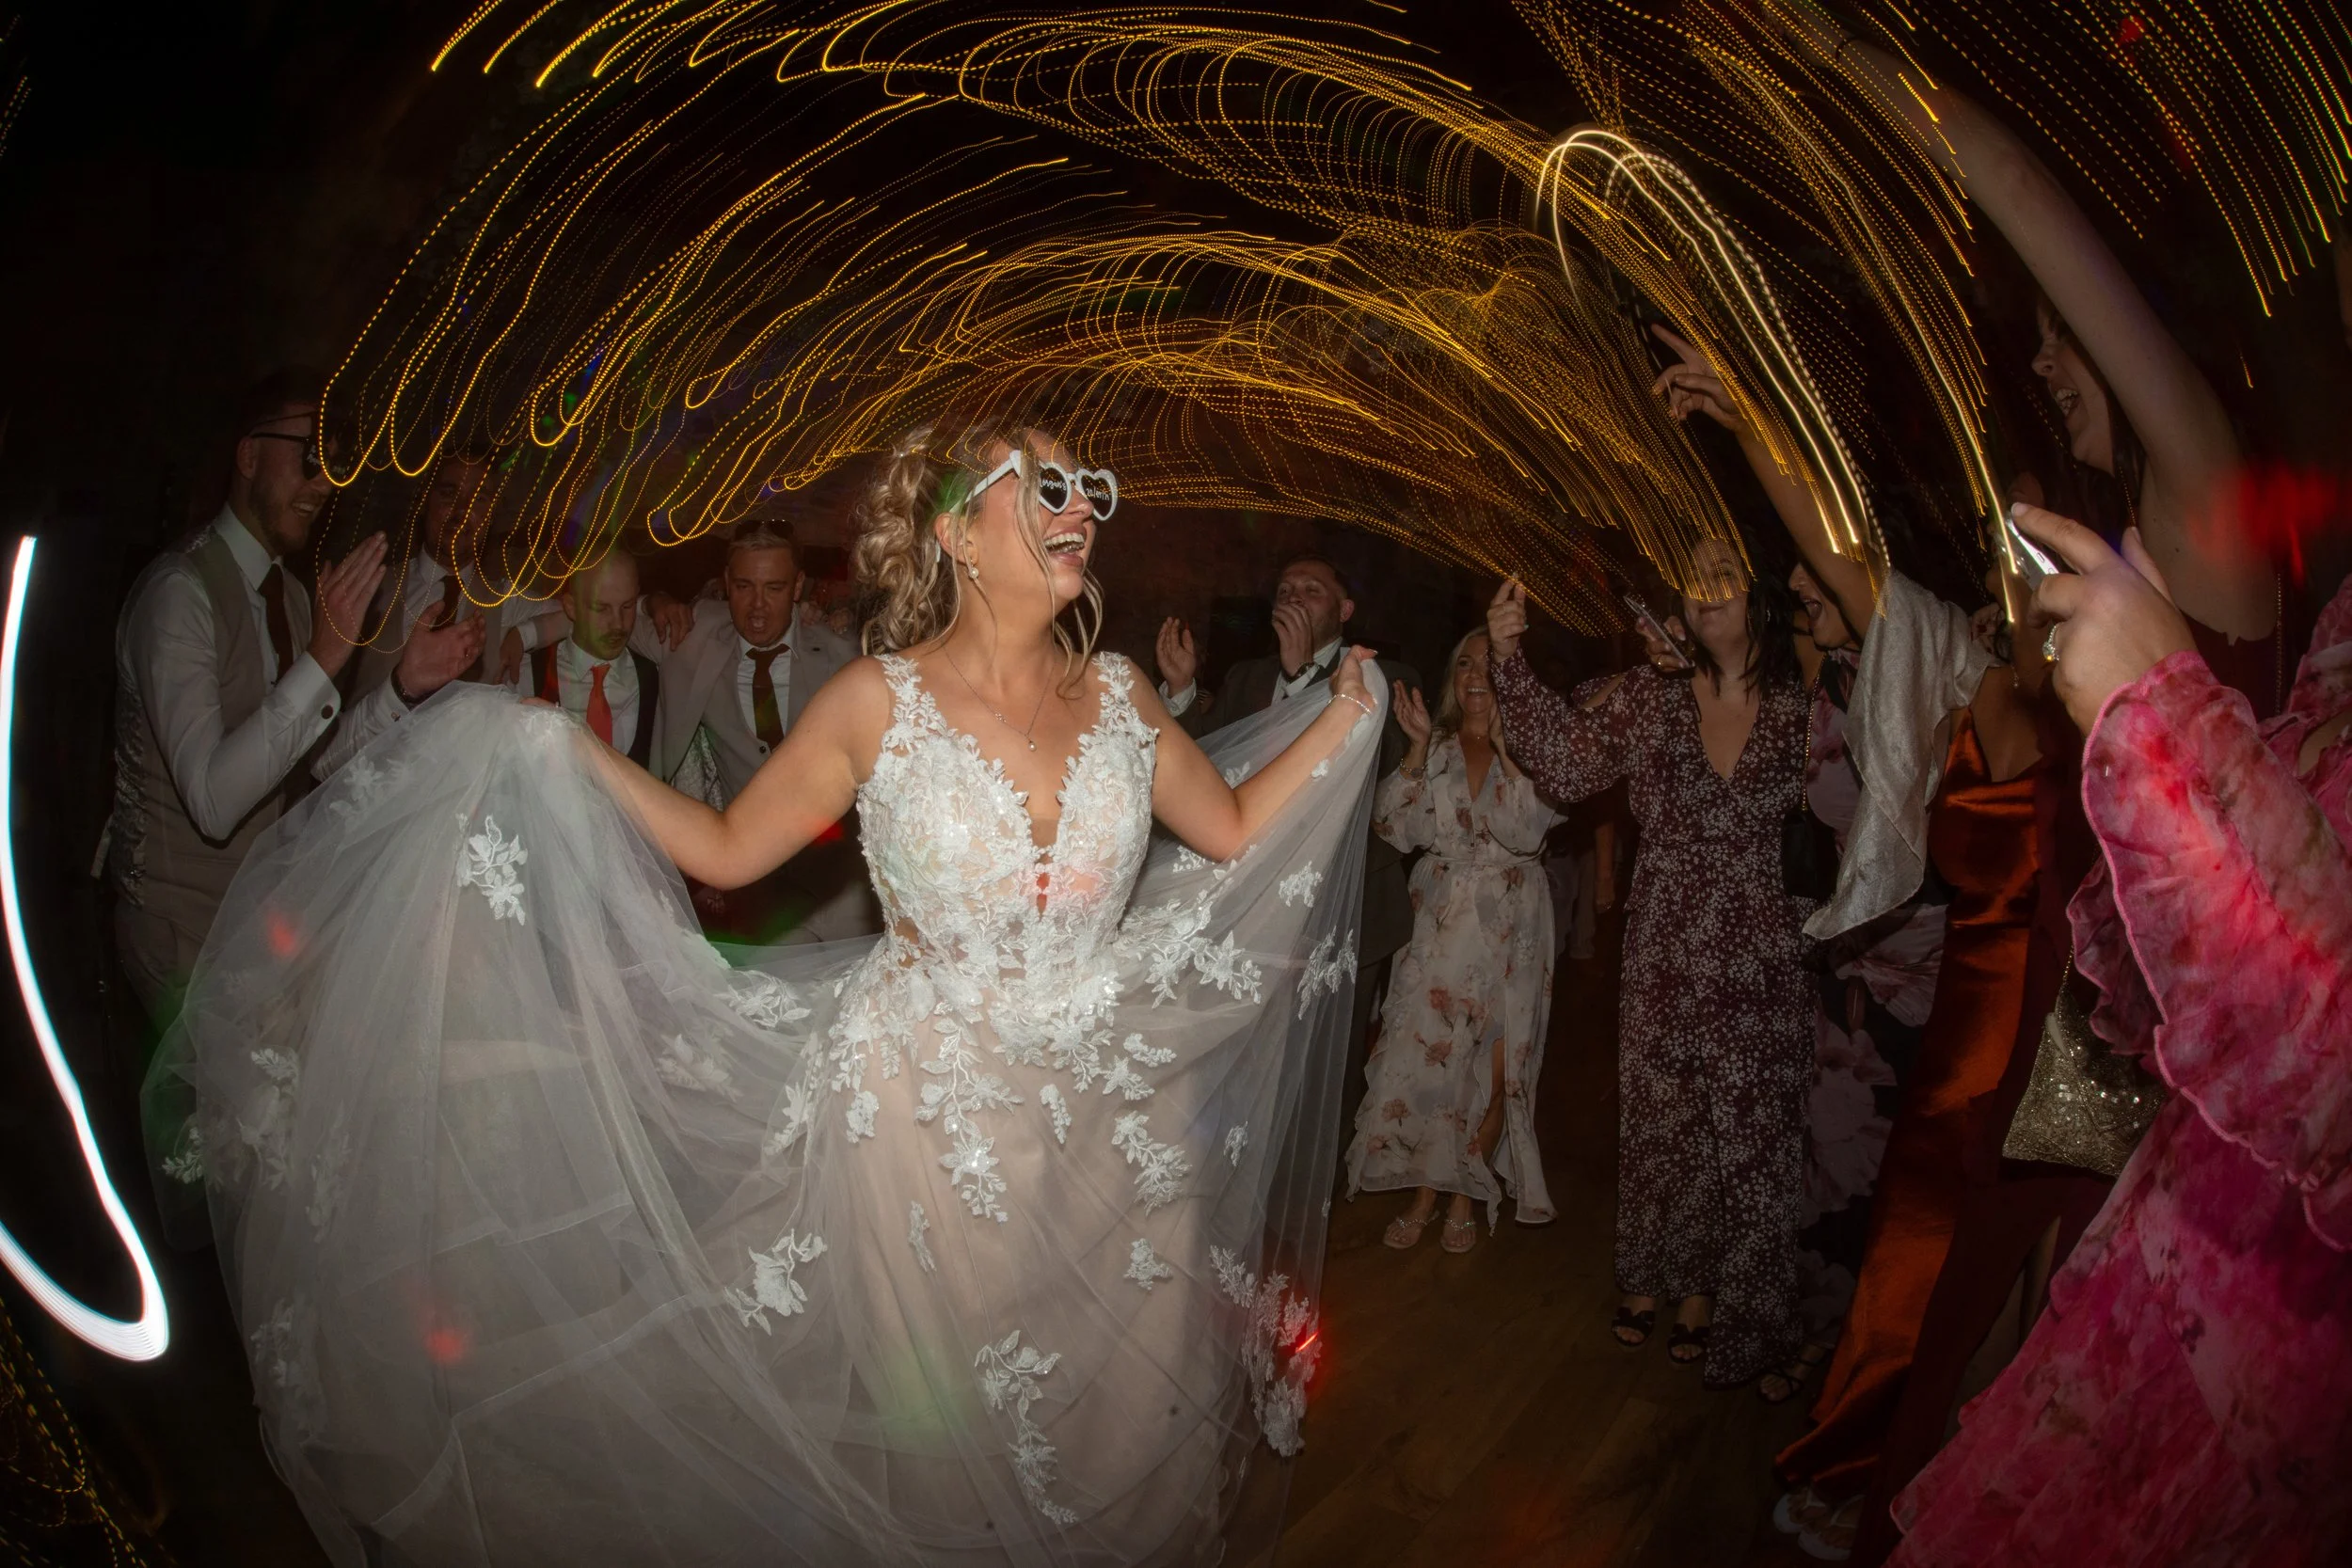
What if the difference between a blurry snapshot and an award-winning portfolio piece was simply a matter of authoritative presence? Mastering how to shoot sparkler exit photos is a defining skill for any modern professional, yet it remains one of the most technically demanding and high-stakes moments of a wedding day. You likely understand the frustration of battling high-ISO noise, motion-blurred subjects, and the chaotic energy of celebratory guests in a challenging low-light environment where there are no second chances.
This masterclass, curated with the high standards expected of the Institute of Wedding Photographers, promises to equip you with the technical precision and strategic choreography required to capture breathtaking, portfolio-grade exits in any setting. We will guide you through the essential 2026 camera configurations, sophisticated off-camera lighting techniques, and the professional communication skills needed to transform a frantic departure into a structured work of art. By moving beyond the uncertainty of trial and error, you will learn to produce images that meet the rigorous criteria of professional validation and industry accolades.
Key Takeaways
Understand why 45cm or 90cm sparklers are essential for safety and duration, and why a "fake exit" often provides a more controlled environment for your creative vision.
Discover how to shoot sparkler exit photos by maintaining a shutter speed threshold of 1/200s to ensure crisp subjects while managing ISO for 2026 sensor technology.
Learn to balance the organic 2000K warmth of the sparks with strategic off-camera flash to achieve a sophisticated rim-light effect.
Master the "Big Voice" technique and the "torch-to-torch" lighting method to lead large groups with confidence and professional authority.
Elevate your portfolio and gain a competitive advantage by moving beyond self-taught methods toward formal IOWP accreditation and structured workshops.
Table of Contents
Mastering the Logistics of a Wedding Sparkler Exit
A successful image begins long before you press the shutter. When considering how to shoot sparkler exit photos, the logistical framework you establish with the wedding planner determines whether the moment is a portfolio highlight or a safety hazard. Timing is your first priority. While a true departure at midnight feels traditional, a "fake exit" staged immediately after the first dance ensures your subjects and guests are alert and engaged. This approach allows you to capture the energy of the celebration without the unpredictability of late-night fatigue or excessive intoxication.
Coordination with the venue staff is non-negotiable. You must confirm their pyrotechnic policies and ensure a designated area for the "Two-Line" formation is cleared. This structured path, typically three to four metres wide, provides a safe corridor for the couple while allowing you to maintain a clean, symmetrical composition. To ensure the light lasts long enough for multiple passes, insist on 45cm (18-inch) or 90cm (36-inch) sparklers. Standard household versions often burn out in under thirty seconds, leaving you with insufficient light and a frustrated crowd before the couple has even reached the midpoint.
The Safety Briefing: Protecting Your Couple and Gear
Clear communication is the hallmark of a professional. Before any sparks are lit, gather the guests for a brief, authoritative orientation. Instruct them to hold their sparklers at a consistent height, angled slightly away from the centre of the path to avoid accidents with hair or clothing. You should also verify that the venue has provided buckets of sand at the end of the line for immediate disposal. For your own equipment, consider using a high-quality UV filter; it is a small investment to protect your front element from stray embers and heat during the process.
Directing the Couple for Maximum Impact
The movement of the couple should be deliberate and steady. A slow walk is far superior to a run, as it allows your autofocus system to track effectively while you apply long-exposure photography techniques to balance the ambient glow. Advise the couple to pause for a "Mid-Point Kiss" halfway down the line. This creates a natural anchor for your composition and provides a distinct, high-impact frame for their album. Establishing these cues beforehand transforms a chaotic scramble into a refined, cinematic event. If you're looking to refine these skills in a practical environment, our photography courses and workshops offer the structured guidance necessary for mastery.
Essential Camera Settings for Low-Light Motion
Mastering the mechanical aspects of your camera is the next logical step after securing the venue's cooperation. When you're refining your approach to how to shoot sparkler exit photos, the primary technical challenge is balancing the extreme brightness of the pyrotechnics with the deep shadows of the night. By 2026, sensor technology has evolved to allow for remarkably clean files at higher sensitivities, meaning you can confidently push your ISO to 3200 or 6400 without compromising the integrity of your portfolio.
Maintaining a shutter speed of at least 1/200s acts as your primary safety net against motion blur. While the couple might be walking slowly, the sparks themselves move at high velocities; any drop below this threshold risks losing the crisp definition of the light trails. Selecting an aperture around f/2.8 provides a sophisticated depth of field. It is wide enough to create a pleasing bokeh from the background sparklers while remaining deep enough to keep both subjects in focus as they move toward your lens. These principles are closely related to the camera settings for capturing light trails, where the goal is to preserve the detail in the highlights while maintaining a rich, dark environment.
The Exposure Triangle for Sparklers
To achieve professional results, start with a baseline of ISO 3200, f/2.8, and 1/250s. You should always meter for the highlights. If you meter for the shadows, the sparklers will quickly become overexposed white blobs that lack any texture or fizz. Shooting in a RAW format is essential here. It provides the dynamic range necessary to recover subtle shadow details in the couple's clothing during post-processing without introducing excessive noise. If you find these technical configurations daunting, our wedding photography courses offer hands-on environments to practise these transitions under expert guidance.
Focusing Techniques in Near-Total Darkness
Nailing the focus on a moving subject in low light requires a disciplined approach. Modern mirrorless systems excel when you utilise AF-C (Continuous) mode paired with face or eye-tracking. This allows the camera to stay locked on the couple as they traverse the corridor of light. Many professionals prefer back-button focus to separate the shutter release from the focus lock, ensuring the camera doesn't hunt for a new point of interest at the critical moment. While focus assist lights can be helpful, they often prove distracting to guests or the couple; it is usually better to rely on the ambient light provided by the first few sparklers to gain your initial lock.
Strategic Lighting: Balancing Ambient Glow and Flash
Achieving the perfect balance between the organic warmth of pyrotechnics and artificial light is a hallmark of an advanced wedding photographer. When mastering how to shoot sparkler exit photos, you must decide between a purely naturalist approach and a structured lighting setup. While some practitioners prefer using only ambient light to capture the raw atmosphere, this often results in "muddy" skin tones or excessive motion blur that detracts from the professional quality of the final frame. To produce portfolio-grade work, you must learn to integrate flash in a way that feels invisible yet essential.
The "Naturalist" approach relies entirely on the 2000K glow provided by the sparklers. While this preserves the authentic mood of the evening, it requires a high degree of technical confidence to ensure the couple remains sharp amidst the low-light chaos. Most professionals find that a subtle combination of ambient light and controlled flash provides the most consistent results. By using a dragged shutter to soak up the golden embers and a brief pulse of light to freeze the subjects, you create a three-dimensional image that feels both vibrant and polished.
Gelling Your Flash for a Seamless Look
To maintain colour harmony throughout the scene, you should never use a bare, daylight-balanced flash. The 5600K output of a standard strobe creates a jarring "blue ghost" effect when contrasted against the golden 2000K to 3000K light of the sparklers. Applying a CTO (Colour Temperature Orange) gel to your flash is a mandatory step for a seamless look. Because modern sensors are highly sensitive, you will find that flash power settings as low as 1/64 or 1/128 are usually sufficient to provide fill without overpowering the scene. This delicate touch ensures that the artificial light enhances rather than replaces the organic glow of the moment.

Creating Depth with Backlighting
Strategic placement of an off-camera flash (OCF) behind the couple adds a layer of depth that separates them from the background guests. This backlight creates a "halo" or rim-light effect that defines their silhouettes and makes the surrounding smoke appear cinematic rather than messy. Using a dedicated modifier helps control light spill, ensuring the flash does not flare directly into your lens. This technique is a core component of our POSE, LIGHT & FIRE curriculum, where we focus on mastering advanced lighting in high-pressure environments. When you understand how to shoot sparkler exit photos with this level of precision, you move beyond simple documentation and begin creating award-worthy art.
Choreographing the Crowd for the Perfect Frame
Leadership in high-pressure environments requires a composed yet firm presence. When mastering how to shoot sparkler exit photos, your "Big Voice" is as essential as your prime lens. This technique involves projecting clear, rhythmic instructions that guide the crowd without compromising the celebratory mood. You must command the attention of perhaps a hundred guests, many of whom may be distracted, to ensure the safety corridor remains open and the lighting sequence begins on your cue. A professional photographer acts as a steady hand, transforming a potentially chaotic scramble into a dignified and structured event.
Your primary station should be at the terminal end of the guest corridor. This position allows you to walk backwards as the couple approaches, maintaining a consistent distance while capturing the tunnel of light stretching out behind them. It also places you in the ideal spot to document the "in-between" moments; the joyous relief on the couple’s faces as they complete their walk and the genuine reactions of guests as the sparks begin to fade. By positioning yourself at the end, you ensure the background remains filled with light and activity throughout the entire sequence.
The Lighting Sequence Masterplan
To maximise the 30 to 60 second burn time of professional-grade sparklers, you must avoid lighting from the couple outwards. Instead, assign "Captains" at the far end of each line to initiate the "torch-to-torch" method. This ensures the entire corridor is illuminated simultaneously. If you light from the couple first, the sparklers near their starting point will often expire before they reach the end of the path, resulting in a disjointed and dark foreground. Managing this narrow window of light requires precise timing and clear communication with your assigned captains.
Composition and Perspective
Choosing the correct focal length dictates the emotional weight of the image. A 35mm lens captures the grand scale of the venue architecture and the surrounding crowd, whereas an 85mm lens provides the compression needed to make the sparkler arch appear denser and more imposing. Adopting a low-angle perspective further enhances this effect, making the ceiling of fire feel architectural in its structure. If you wish to refine these compositional strategies under professional mentorship, consider joining our Wedding Photography Portfolio Builder Workshop to gain hands-on experience in a controlled, high-standard environment.
Elevating Your Portfolio with Professional Wedding Training
While digital tutorials provide a useful baseline, true mastery of high-stakes scenarios like the sparkler exit is achieved through structured, hands-on experience. Learning how to shoot sparkler exit photos in a live wedding environment often involves a degree of trial and error that can be detrimental to a professional reputation. By seeking formal education, you replace guesswork with a repeatable, technical framework. The Institute of Wedding Photographers bridges the gap between artistic passion and commercial success, ensuring that your technical skills are backed by a robust business foundation.
Peer review and expert critique are vital components of this professional progression. Engaging with a community of elite professionals allows you to refine your low-light technical skills in a way that isolated practice cannot match. This collaborative environment fosters a sense of discipline and excellence, especially when perfecting the nuances of how to shoot sparkler exit photos for a high-end clientele. Transitioning from a competent photographer to an award-winning professional requires this commitment to continuous learning and formal validation.
Immersive Learning at Ceconi Castle
Our most intensive training takes place in the prestigious setting of Ceconi Castle, where students apply "POSE, LIGHT & FIRE" techniques in a meticulously controlled environment. These workshops allow you to experiment with complex lighting setups and crowd choreography under the direct mentorship of seasoned experts. This hands-on application ensures that when you face a real-world exit, your responses are instinctive and your results are portfolio-grade. We invite you to Explore our professional photography courses to find the programme that best fits your current career stage.
The Path to Industry Recognition
Gaining a competitive advantage in the modern market requires more than just technical skill; it necessitates professional validation. Submitting your refined work to the IOWP wedding photography awards provides a platform for industry recognition and serves as a benchmark for your artistic growth. Membership within the IOWP offers a sense of permanence and reliability, positioning you as a guardian of industry standards. To begin your journey toward mastery, you can View upcoming wedding photography training dates in the UK and join a community dedicated to the formalisation of talent.
Securing Your Legacy as a Master of Light
The transition from capturing a competent image to producing a masterpiece of wedding photography lies in the intersection of technical precision and authoritative leadership. By mastering the exposure triangle for low-light motion and implementing strategic backlighting with gelled flash, you ensure your work possesses a three-dimensional quality that stands out in a competitive market. You now possess the foundational knowledge on how to shoot sparkler exit photos with the confidence required to lead a celebratory crowd through a structured, safe, and cinematic corridor of light.
Refining these high-stakes skills is a continuous journey that benefits from professional validation and structured feedback. Moving beyond self-led learning toward a formal collection of work provides the competitive advantage necessary for long-term success. We invite you to Join the Institute of Photographers Academy and professionalise your craft today. Through our IOWP industry validation, award-winning mentorship programmes, and intensive portfolio-building workshops, you'll find the stable guidance needed to reach your full creative potential. The path to excellence is attainable, and your next award-worthy frame is already within reach.
Frequently Asked Questions
What are the best camera settings for sparkler exit photos?
A professional starting point is ISO 3200, an aperture of f/2.8, and a shutter speed of at least 1/200s to freeze motion. When you are learning how to shoot sparkler exit photos, you must balance the ambient warmth of the sparks with these technical thresholds. Modern 2026 sensors handle high ISO exceptionally well, so don't fear grain; clarity and subject focus are your primary objectives in these high-stakes, low-light environments.
Do I need a flash for wedding sparkler exits?
While natural light can work, using a flash provides the necessary "pop" and freezes the couple effectively against the motion of the sparks. It is essential to use a CTO (Colour Temperature Orange) gel on your strobe to match the 2000K warmth of the pyrotechnics. This prevents the jarring "blue ghost" effect. Our POSE, LIGHT & FIRE workshop covers these advanced lighting techniques in significant detail for those seeking professional mastery.
How do I focus my camera in the dark for a sparkler walk?
Utilise your camera's AF-C (Continuous) mode with face and eye-tracking enabled. This allows the system to stay locked on the couple as they move through the corridor. Back-button focus is also a valuable tool here, as it prevents the camera from hunting if a guest's sparkler passes in front of the lens. Relying on the initial glow of the first lit sparklers provides enough contrast for modern systems to gain a reliable lock.
What length of sparklers should I recommend to my wedding couples?
You should always recommend 45cm (18-inch) or 90cm (36-inch) sparklers to your clients. Standard household varieties often burn for less than thirty seconds, which rarely provides enough time for a successful walk and multiple frames. The longer versions offer a burn window of 60 to 90 seconds, allowing for a more relaxed pace and the opportunity to capture the midpoint kiss without the light fading prematurely during the walk.
How do I keep guests safe during a sparkler exit?
Safety is maintained through clear communication and structured logistics. Use the "Big Voice" technique to deliver a concise briefing before any sparks are lit, ensuring guests hold their sparklers high and away from the couple. You must also confirm that the venue provides buckets of sand for immediate disposal. Establishing a three to four metre wide corridor prevents accidents and ensures your equipment remains protected from stray heat and embers.
Can I shoot sparkler exits with a mirrorless camera in 2026?
Mirrorless systems in 2026 are the ideal tool for these scenarios due to their superior low-light autofocus and real-time exposure previews. The electronic viewfinder allows you to see exactly how your settings are affecting the highlights of the sparklers before you press the shutter. This immediate feedback loop is a significant advantage over older DSLR technology, particularly when managing the narrow dynamic range of a high-contrast, night-time exit corridor.
What is the best lens for capturing a wedding exit?
The choice of lens depends on your desired compositional outcome. A 35mm prime lens is excellent for capturing the grand scale of the venue and the surrounding crowd, whereas an 85mm lens provides beautiful compression that makes the sparkler arch appear more imposing. Both options allow for wide apertures like f/1.4 or f/1.8, which are essential for soaking up ambient light while creating a sophisticated bokeh that highlights the couple effectively.
How do I edit sparkler exit photos to make them pop?
Editing begins with white balance adjustments to preserve the golden 2000K glow of the scene. Use local adjustment masks in your post-processing software to balance the exposure between the bright sparklers and the couple's faces. This ensures that the highlights don't become overexposed white blobs. Producing work of this calibre is a key step toward achieving IOWP awards and gaining formal recognition within the professional wedding photography community through a validated portfolio.