
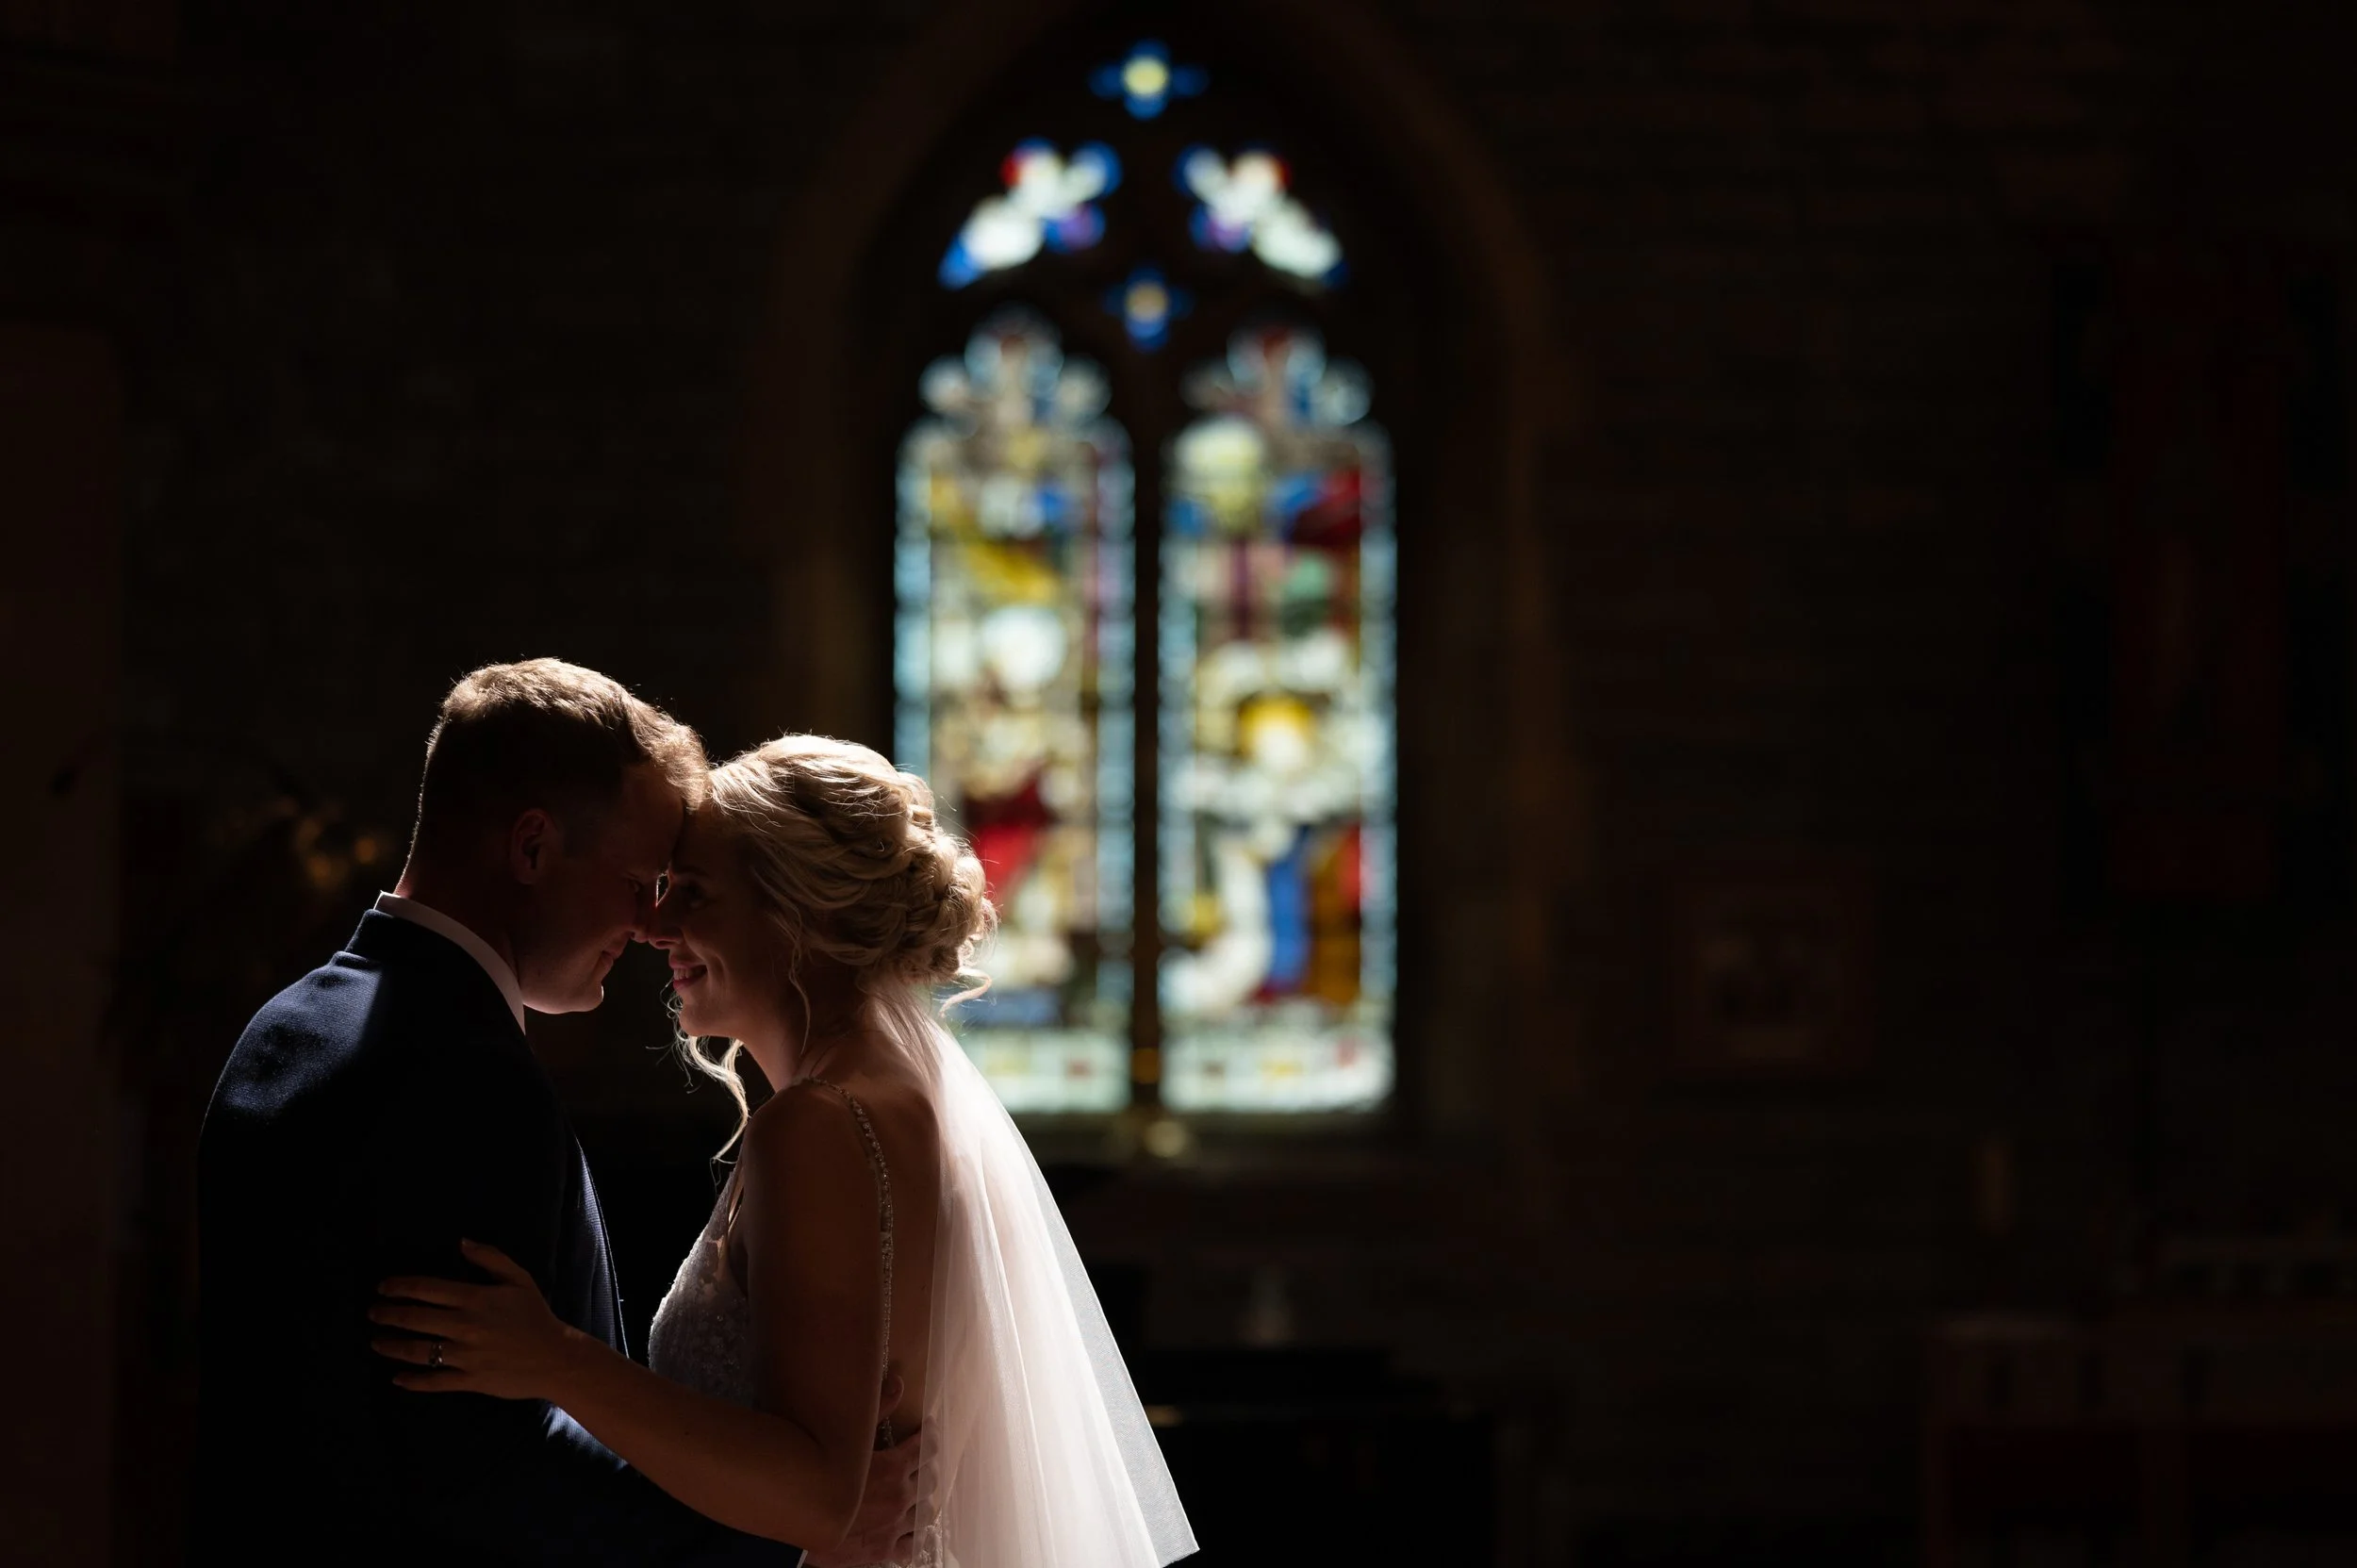
A wider aperture isn’t always the answer to how to get sharp focus in dark reception halls. A practical starting exposure is f/5.6, 1/100 second and ISO 3200, then adjust to the movement, available light and depth of field in front of you. Use a reliable focus point, keep your shutter speed suited to the action, and work with the venue’s light to preserve its atmosphere.
It’s tempting to use the widest aperture when a reception hall is dim, but a very shallow depth of field makes moving guests harder to keep in focus. Sharp reception photographs depend on balancing exposure with deliberate focusing, not on one setting alone.
This guide shows how to preserve available light and the room’s atmosphere, choose an aperture that gives subjects room to move, and set shutter speed and ISO thoughtfully. You’ll also learn practical ways to help autofocus lock on and use clothing contrast to distinguish a person from a dark background. Whether you’re building confidence or refining your approach, use these steps as a framework to practise and adapt to each reception.
Key Takeaways
Use the direction and quality of available light to retain a reception’s atmosphere while making deliberate choices about where you photograph from.
Balance aperture with depth of field so moving guests have more room to remain in focus.
Use a consistent focus technique for changing scenes, and look for clear points of contrast when the camera struggles to lock on.
Adjust shutter speed and ISO to suit the movement and light, rather than relying on one setting to solve every low-light challenge.
Develop these skills through structured wedding photography training, with practical learning and mentorship available from the Institute of Wedding Photographers.
Table of Contents
Preserving atmosphere when photographing in low light
Before changing settings, read the light in the room. At a wedding reception, the direction and quality of the available light can matter more than its quantity. Preserving some of it helps retain the venue’s atmosphere.
Camera bodies vary in low-light autofocus performance. Choose a model that can acquire your intended subjects in dim conditions, and assess it through practical shooting rather than relying on the model name alone.
An AF-assist beam can help your camera focus on relatively close subjects, but it won’t reach someone across the room. On-camera flash adds light, while off-camera flash gives you directional illumination. When the venue allows it, bounce flash from a white ceiling.
Work around downlights and overhead lighting
First, watch how downlights fall across guests’ faces as they move. Overhead fixtures can cast shadows around eyes and noses. If a guest is directly beneath a harsh pool of light, try shifting your position to get a more even result.
Look for a nearby sign or venue fixture that provides directional light. A window or lamp behind your subject can leave their face dark. Move to the other side and use the light from the front or at an angle. A few steps can keep the room’s character while making the subject easier to see.
Position a second shooter to provide light
Ask your second shooter to stand to one side of the scene and use a light to lift the subject without pointing it straight into guests’ eyes. Check the direction of the light before shooting. If it comes from behind the couple, their faces may fall into shadow, so adjust either photographer’s position.
During a speech, for example, the second shooter can stand near the edge of the room and angle the light towards the speaker. Keep background lights in the frame where possible, and watch for shadows from the microphone or nearby guests crossing the speaker.
Use flash to improve focus
Use an AF-assist beam when a subject is close enough for it to reach, then recompose after focus locks if needed. For a white ceiling, aim bounced on-camera flash back over your shoulder at 45 degrees; this spreads light more softly than pointing it directly at the couple.
Where the ceiling won’t reflect light, direct flash can help illuminate a scene, but keep its effect restrained. A suggested TTL flash compensation is -1.7 or -2.0 in a venue without a reflective ceiling. For off-camera backlights, begin at 1/32 power, then assess the balance with the venue lights.
Aperture and depth of field for reception photography
Fast prime lenses are useful for low-light wedding photography, with some opening to f/1.2 and others around f/1.8-2.8. UK prices vary with the lens mount, maximum aperture, focal length, brand and whether you buy new or used.
Choose an aperture according to the subject’s movement and position. A wide setting such as f/1.8 admits more light, but creates a narrower zone of sharpness. If a couple stands at different distances, one face may be sharp while the other becomes blurry. Align them on a similar plane, or stop down to include more depth.
Some prime lenses open to f/1.2, which can help in a candlelit room or during a winter wedding with little daylight. Yet a very wide aperture demands precise focus. Use it for a still portrait, then reassess before photographing guests moving across the dance floor.
Set an aperture that gives moving subjects enough depth to stay sharp. For dark reception photography, f/5.6 or higher can improve the chance of focusing on movement, though it admits less light than f/2.8. Balance that trade-off with your shutter speed and ISO rather than opening the lens automatically.
Below f/2.8, a moving guest can leave the narrow focus plane between frames. Try f/2.8 for a small group standing close together, then check the nearest and farthest faces in playback. If either falls outside the sharp area, adjust their spacing or close the aperture.
Before changing lenses in a small venue, adapt your composition. A wide lens can include the couple and room details in a vertical frame, while a longer lens creates a tighter vertical composition and compresses the background.
For example, photograph a couple beside a decorated wall with a wider view, then use a longer focal length for a closer portrait. Check the ceiling and frame edges for distracting fixtures. A tighter composition may exclude them without moving the subject.
Choose a lens based on the job. A prime lens offers a wider maximum aperture, while a zoom lets you change the framing without moving between crowded tables. Select a focal length that suits the room, then practise working at the right distance before the wedding.
For a candlelit portrait, test a wide aperture on a still subject and check focus on the eyes. For moving guests, take another test with more depth of field. Comparing the results shows whether the aperture suits the moment, rather than simply making the viewfinder brighter.
Fast prime lenses are useful for sharp low-light reception photography, with options opening to f/1.2 or around f/1.8-2.8; use a wider aperture for still portraits and more depth of field for moving guests. UK prices vary by mount, maximum aperture, focal length, brand and whether the lens is new or used.
Back-button focus for fast-moving reception scenes
A useful technique for getting sharp focus in dark reception halls is to separate focus activation from the shutter release. For dancing guests, continuous autofocus can track movement while you keep the active point on the person you want to photograph.
Set up back-button focus
Assign autofocus to a button on the back of your camera, then disable focus activation from the shutter button. Practise before the wedding so your thumb controls focus while your index finger releases the shutter.
For a stationary guest, press the back button to focus, release it, then take the photograph. For a moving dancer, keep the button pressed as you follow their movement. Check your camera’s custom controls, since button options and menu names vary by model.
Choose autofocus modes and focus points
Select continuous autofocus for moving guests and choose a focus area that is less likely to jump to a bright background light. Keep the active point on the face or upper body as the person moves. For a stationary speaker, single autofocus can lock focus before you recompose.
In low light, start with the centre focus point, which is generally the strongest on most cameras. If the subject is off-centre, focus on a well-lit area, lock focus, then reframe without changing your distance. Check that the point hasn’t landed on a sign or light behind the guest.
Focus on moving people in dim light
Track a dancer’s face or chest with continuous autofocus, moving the camera smoothly rather than swinging abruptly. Leave room around the person so you can follow their movement. If autofocus hunts, aim at a nearby area with stronger contrast, acquire focus, then return to your intended composition.
An AF-assist beam can help your camera focus on relatively close guests, but it won’t reach someone across the room. If autofocus can’t find a seated guest, focus on an object about one foot in front of them, then adjust your position to place the guest in the same focus plane.
Take a short sequence to capture a changing moment, such as a couple turning during their first dance. If you stay about two feet from the subject, you can shoot repeatedly without refocusing, provided they remain within the locked focus distance.
To practise getting sharp focus in dark reception halls, rehearse a toast scenario before the event. Imagine focus is locked ten feet away while you stand eleven feet from that point. Take one small step forward, then continue shooting. Review your images between moments, and reacquire focus if the subject moves nearer or farther away.
Exposure and shutter speed
A useful starting exposure is f/5.6, 1/100 second and ISO 3200, then adjust for the scene. To reduce motion blur and camera shake, choose a shutter speed suited to movement, hold the camera steadily, and use a tripod for static scenes.
Adjust exposure and shutter speed
Start with f/5.6, 1/100 second and ISO 3200, then review the images on your camera. If the couple moves quickly, prioritise a faster shutter over a longer exposure. A slower shutter lets more light reach the sensor, but movement can blur faces and hands.
Use ISO to help compensate for a dim hall. Higher ISO settings can help in low light, though image noise may become more noticeable. If a photograph looks underexposed at your chosen shutter speed, for example, increase ISO before slowing the shutter during dancing.
Consider the subject and the moment. A longer exposure can suit a static detail, such as a table arrangement, or deliberately show movement across the dance floor. For a speech or first dance, though, freezing the people’s movement often matters more than capturing extra ambient light.
Make one adjustment at a time and inspect the result. If the couple’s faces look blurred, increase shutter speed and reassess the exposure. If the room becomes too dark, raise ISO. This helps you work out whether motion, camera shake or insufficient exposure affected the image.
Prevent motion blur and camera shake
Choose a shutter speed of at least 1/60 second for reception photography, except when deliberately using light dragging. With a 50 mm lens, avoid going below 1/50 second; for handheld wedding photography, use 1/focal length or faster to reduce motion blur.
These are starting points, not a substitute for reading the action. A guest crossing the dance floor may need a faster shutter than a couple standing still. Check a test image during playback, paying close attention to the eyes and movement in hands, clothing or decorations.
Hold the camera securely, keep your elbows close and press the shutter smoothly. A tripod can steady the camera and reduce shake in a static scene, such as reception décor before guests arrive. It won’t freeze a moving person, so set the shutter speed according to the subject’s movement.
If you deliberately drag the shutter, expect ambient lights and moving guests to leave trails. Use the effect for a creative image, then return to a faster setting before the next important moment. Check the shutter speed after each change to avoid accidental blur when the action resumes.
Finding contrast on clothing to lock focus
Give autofocus a clear edge to detect, such as a jacket against a pale shirt. In a dim hall, choosing a deliberate focus point and a distinct subject detail can help the camera acquire focus without adding distracting light.
Aim at a contrasting edge on the person, not a plain patch of dark fabric. For example, place the focus point where a white shirt meets a dark jacket. That tonal change gives the camera a clearer boundary than a black suit against a shadowed wall.
For a bride in a pale dress, focus on a defined edge, such as the boundary between a sleeve and a darker background. Avoid a featureless area of white fabric, where the camera may struggle to find detail.
When contrast is limited, use the centre focus point, then focus on the clothing edge and reframe. The centre point is generally the strongest on most cameras. Keep your distance from the subject steady as you reframe so the focus plane stays where you intended.
For example, focus on a groom’s lapel against his shirt, lock focus, then shift the composition to include the couple. If the subject moves towards or away from you, reacquire focus rather than relying on the original setting.
In near-darkness, help autofocus by targeting a visible clothing edge or a nearby well-lit area, then reframe. An AF-assist beam can help with relatively close guests, but it won’t reach someone across the room. Use it selectively if you want to avoid drawing attention.
Flash can add light, but a burst may change the room’s ambience. For a discreet dance-floor photograph, first try focusing on a lit, contrasting detail on the subject. Use flash when the scene needs extra illumination, not as a substitute for choosing the right focus target.
If focus misses, check where the active point landed. If it’s on a dark background or a bright sign behind the guest, move it to a contrasting edge of their clothing. If the camera still hunts, focus on a nearby well-lit area and reframe.
If your camera can’t focus on a seated guest, you can focus on an object about one foot in front of them. Treat this as a fallback, not a general setting: keep the guest and focus target aligned, and refocus if either changes position.
Before the reception, practise by photographing a colleague in a dark jacket and light shirt. Try the centre point, then place it on a lapel edge. Review the image and check that the intended detail is sharp before relying on the technique during speeches or dancing.
To strengthen this technique through guided wedding photography learning, explore the photography academy and develop a consistent approach to focus and composition.
Institute of Wedding Photographers: 4 Day Photography Workshop at Ceconi Castle
The Institute of Wedding Photographers offers a natural next step if you want to develop your reception photography through structured learning. The 4 Day Photography Workshop at Ceconi Castle is relevant when you’re ready to build on camera-setting practice and refine your wedding photography skills in a workshop environment.
For guidance tailored to your development, the Wedding Photography Mentorship Program offers a structured learning route. The Wedding Photography Portfolio Builder Workshop may also suit photographers looking to strengthen their collection of wedding images. Choose the format that best matches your current goals and the skills you want to develop.
Explore the Institute of Wedding Photographers’ workshops and learning options to find a next step that fits your goals.
Build confidence through deliberate practice
Every reception gives you a chance to refine your judgement, from reading changing light to deciding when a moment calls for a quieter, more natural treatment. Keep developing a consistent approach and review your photographs afterwards. Notice where your technique supported the story and what you might do differently next time.
Learning how to get sharp focus in dark reception halls takes more than technical control. It also means developing a considered visual approach that serves the couple, their guests and the atmosphere of the celebration. If you’re ready to strengthen your wedding photography with structured learning, the Institute of Wedding Photographers offers ways to develop your skills.
Explore learning opportunities with the Institute of Wedding Photographers, and take your next step with confidence.
Frequently Asked Questions
When should I use back-button focus or single-point autofocus indoors?
Use back-button focus to separate focusing from taking the photograph, particularly as guests move through a changing scene. Single-point autofocus is useful when you need to choose exactly what the camera focuses on, such as a speaker’s face in a crowded room. If guests repeatedly cross the frame, keep your selected point on the intended subject and reacquire focus when the composition or subject distance changes.
How do aperture, shutter speed, and ISO affect focus and sharpness in low light?
Treat them as linked exposure decisions, then diagnose softness from a test frame. If the subject’s eyes are sharp but their hands are blurred, movement is affecting the image. If detail is soft across the frame, camera movement or missed focus may be responsible. Check the focus point and exposure settings in playback, then change one setting at a time to see what improves the next photograph.
Do camera bodies differ in low-light autofocus performance, and which models are recommended?
Yes. Choose a camera that can acquire your intended subjects in dim conditions, and assess its autofocus through practical shooting. No specific models are recommended.
Which lenses are best for sharp low-light reception photography, and what do they cost in the UK?
Fast prime lenses are useful, with some opening to f/1.2 and others around f/1.8-2.8. UK prices vary by lens mount, maximum aperture, focal length, brand and whether the lens is new or used.